DIY Battery Cables
Cable size matters….
Adding LED lights, usb charging ports, extra 12 volt sockets, inverters and maybe even a fridge to your adventure rig is pretty much synonymous with an overland project build. During the planning process we spend most of our time searching for the best products within our budget (guilty!) and then overlook the wires and cabling needed to power them. Selecting the correct cable size for your battery and/or devices is immensely important and should not be overlooked. A simple thing to remember is that the load or power draw of your device will determine the size of the wire. For example an 1100 watt power inverter will draw much more electricity than a 18 watt LED light, thus the inverter will require a much larger power cable.
This post isn’t going to cover how to select the correct cable size but rather to give you an idea how to build your own battery cables at home and on the cheap. Smaller 12 and 14 gauge wires are pretty straight forward and easy to cut, crimp and install but what about 4, 2 or 0 gauge cables? There is no getting around adding heavy gauge cables if you are planning to add a DC to AC power inverter, a stereo amplifier or a dual battery system to your rig. It is good idea to plan ahead and order all the parts needed before you begin your project as not everything is available at your local auto store. Everything listed below was purchased either on Amazon or on eBay and cost a fraction of buying pre-made cables.
Here’s everything I used to make the battery cables for the dual battery system in my LR3:
- a crimping tool (this is a must!)
- hammer
- razor blade
- heat gun or very good lighter
- heat shrink tubing
- 0 gauge cable
- Techflex braided cable sleeve
- 1/0 copper terminal lugs

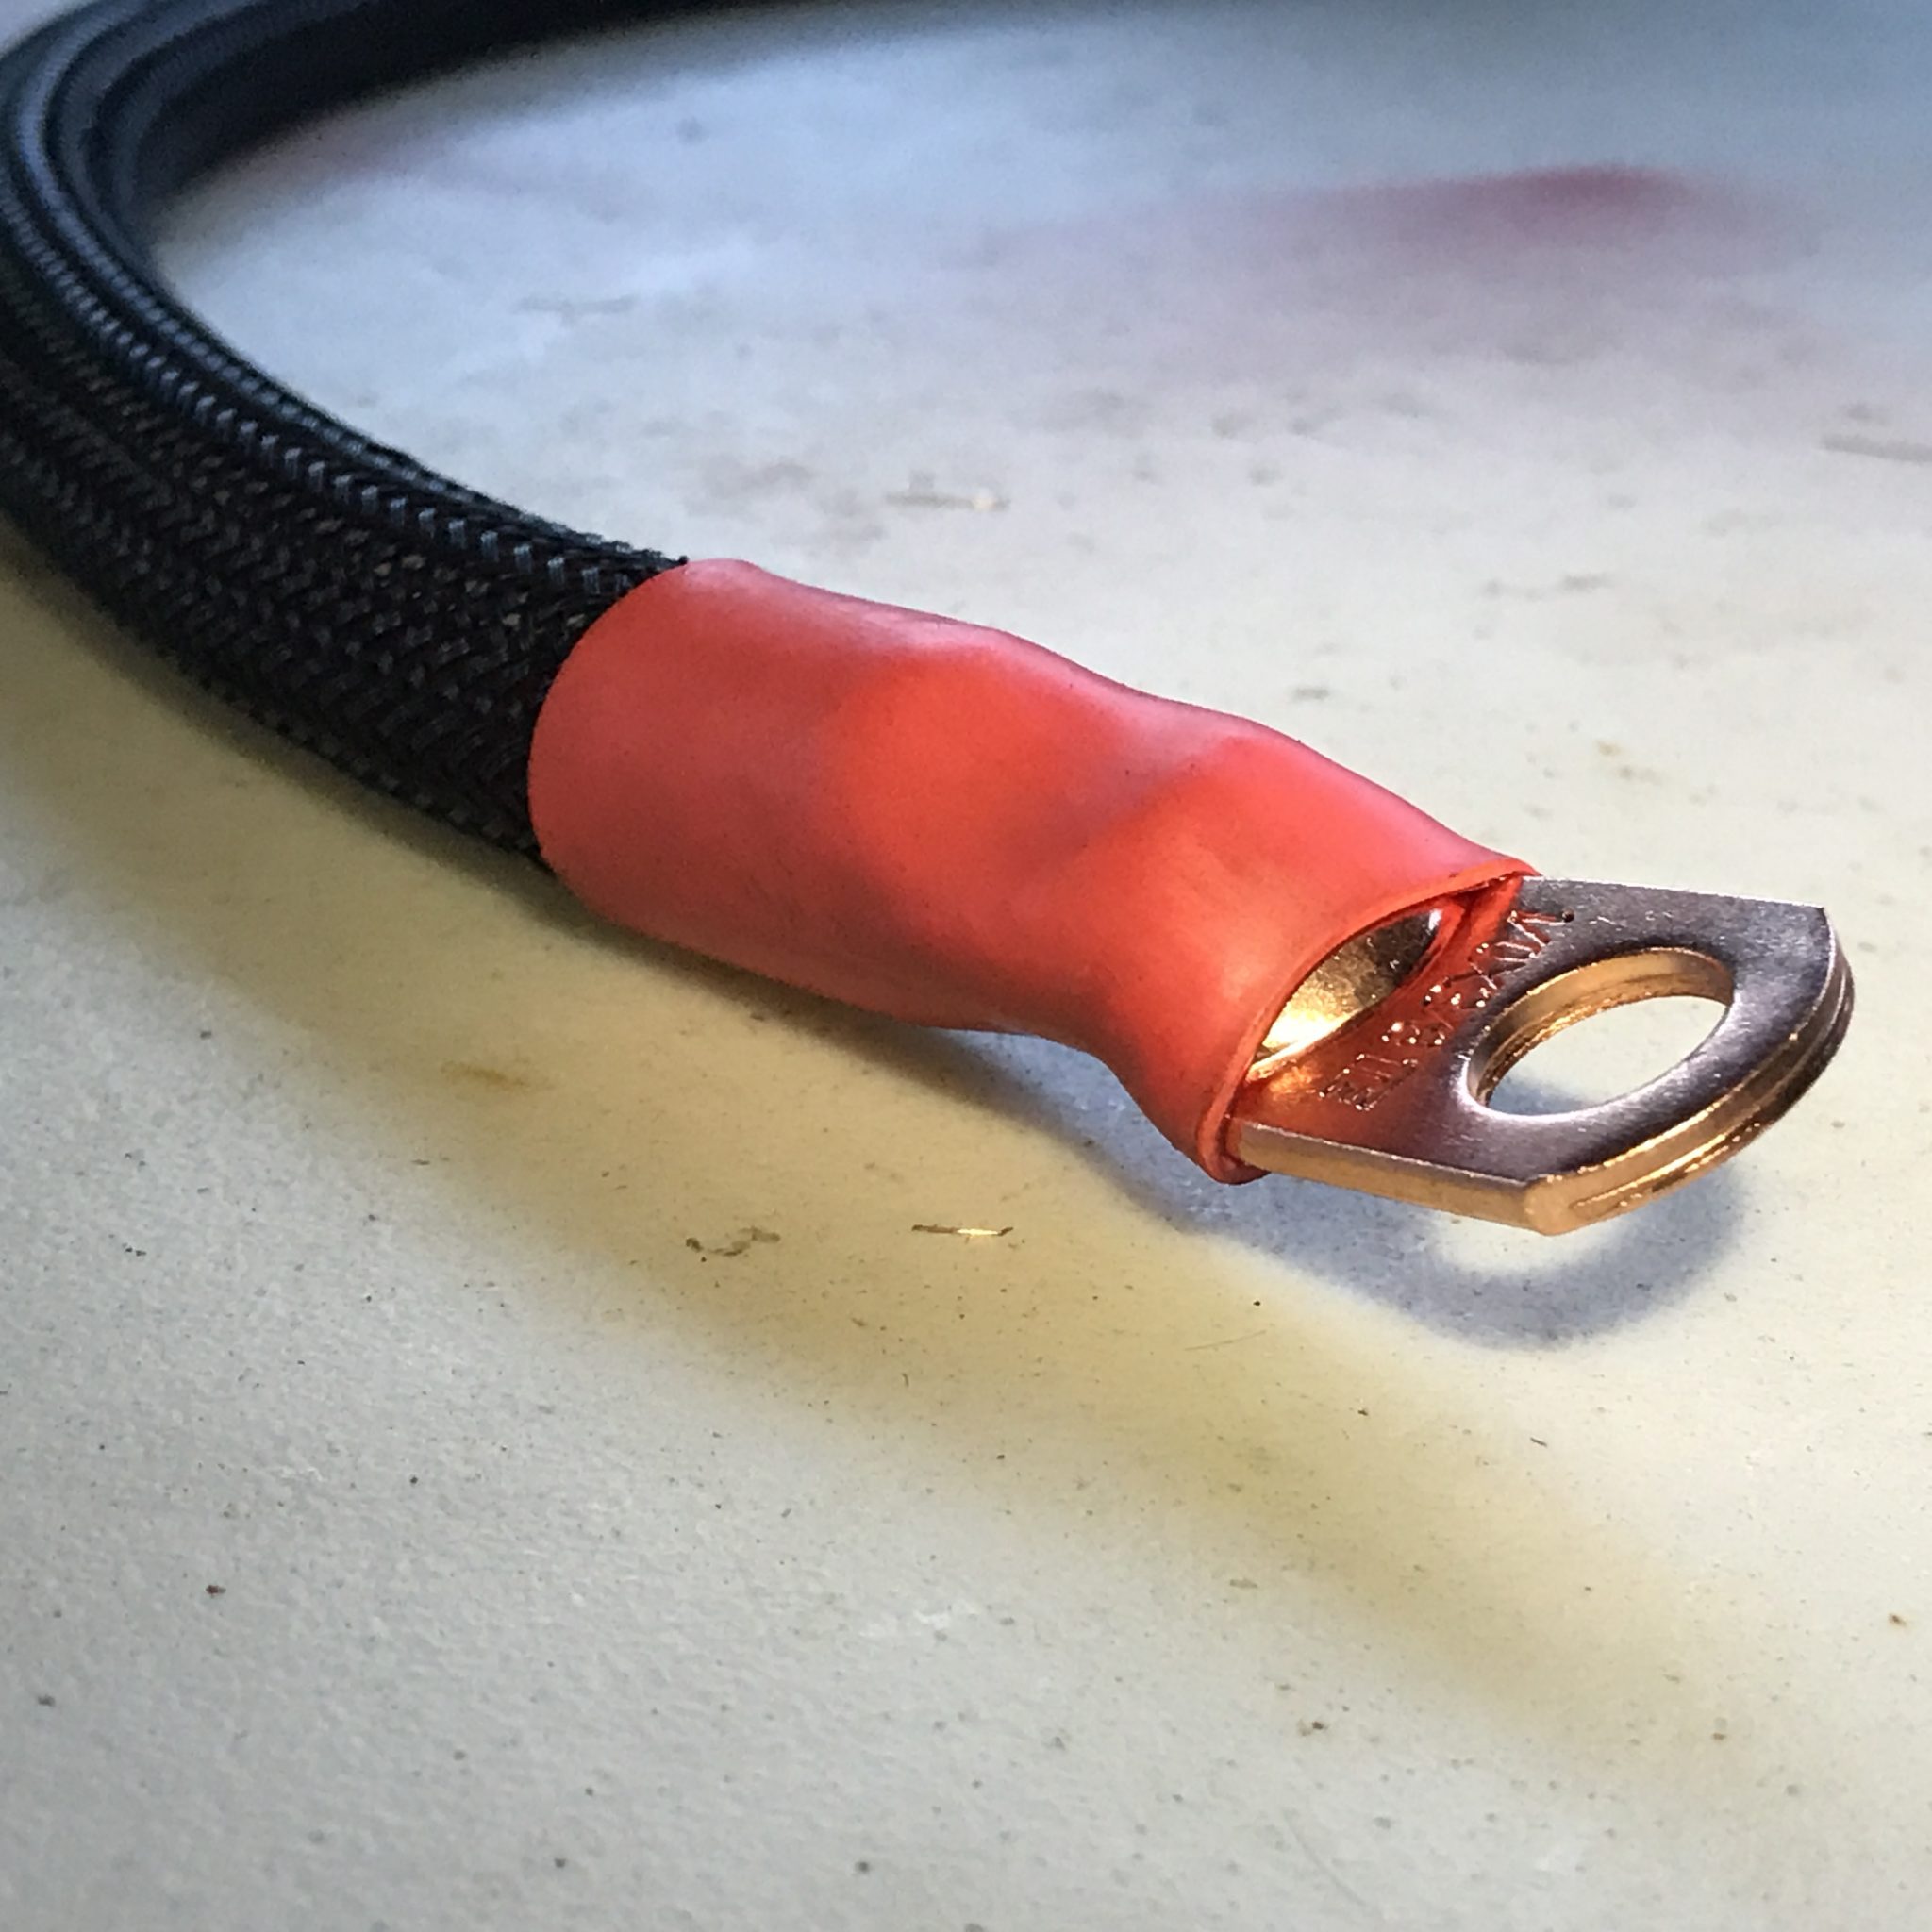
1/0 bare copper terminal lug and 0 gauge wire

Insert bare cable into the terminal lug and place into the TEMCo hammer crimper (make sure you have the correct size lug and that the cable is seated as far into the lug as possible)

Grab your hammer and give it a couple of whacks. The crimping tool ‘cold welds’ the wire to the lug while placing pressure on 3 sides

(blurry) View from the bottom

Cut your wire to length and repeat the other side. (I forgot to take a photo adding heat shrink )

I chose to go with Techflex braided cable sleeve to give extra protection and give it a pro look

Cut the sleeve to desired length

Insert cable into the sleeve

Since the braided sleeve is black I wanted to make sure no one confuses it for a ground cable with red heat shrink. I also choose to get heat shrink with adhesive on the inside for added protection

Cut heat shrink to the same size for each end

Close up view

Grab a good lighter to shrink the tubing

After almost burning my fingers, I decided to break out the Dremel cordless soldering iron with the heat gun tip heat the other side

Close up view of the finished product

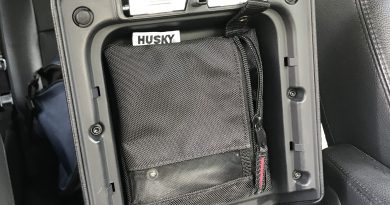
Connected to the starting battery of the LR3

I used the same method to clean up my other cables that connect to the Deka Deep Cycle battery

View of the LR3 dual battery system with plenty of zip ties to keep everything neat and tidy
I hope you liked this project…I surely did and am very happy that the dual battery system in my 2008 LR3 is now 100% rock-solid. One thing to point out is that the TEMCo crimping tool was the absolute star of this project. In the past I have made other large gauge cables using just a hammer and various other tools which took a lot of time, didn’t look great and had me guessing if they would hold up over time. Frankly it was a dangerous move considering that a loose terminal could eventually pull free and potentially cause damage to my rig. I purchased the TEMCo hammer crimper specifically for this project based on the positive Amazon reviews, it was not expensive, and most importantly for making solid crimps. It not only saved me time but did an amazing job keeping the crimp clean and super strong. Now I am fully confident in all the cables and have zero worries about possible failure.
Good luck on your project and let me know if you have any questions. And as always, thanks for reading!
-Chad