DIY subwoofer box
Feel the bass…
For the past 20 something years I have modified the sound system in every car I owned, including my parents mini-van, aka “The Love Wagon”. With no money to spend and no clue what I was doing, I took the speakers from my bedroom stereo system (which had 12″ subwoofers btw) and decided they were going in the Love Wagon. I disconnected the factory front speakers and spliced in speaker wire which I ran to the back of the front seats. Naturally I removed the middle row of the minivan to create a living/changing room for my surfing, sports and outdoor activities. The speaker boxes were ‘securely’ attached to the back of the front seats with bungee cords and the newly run wires were connected. It was my first car modification and it worked, not well, but it worked!
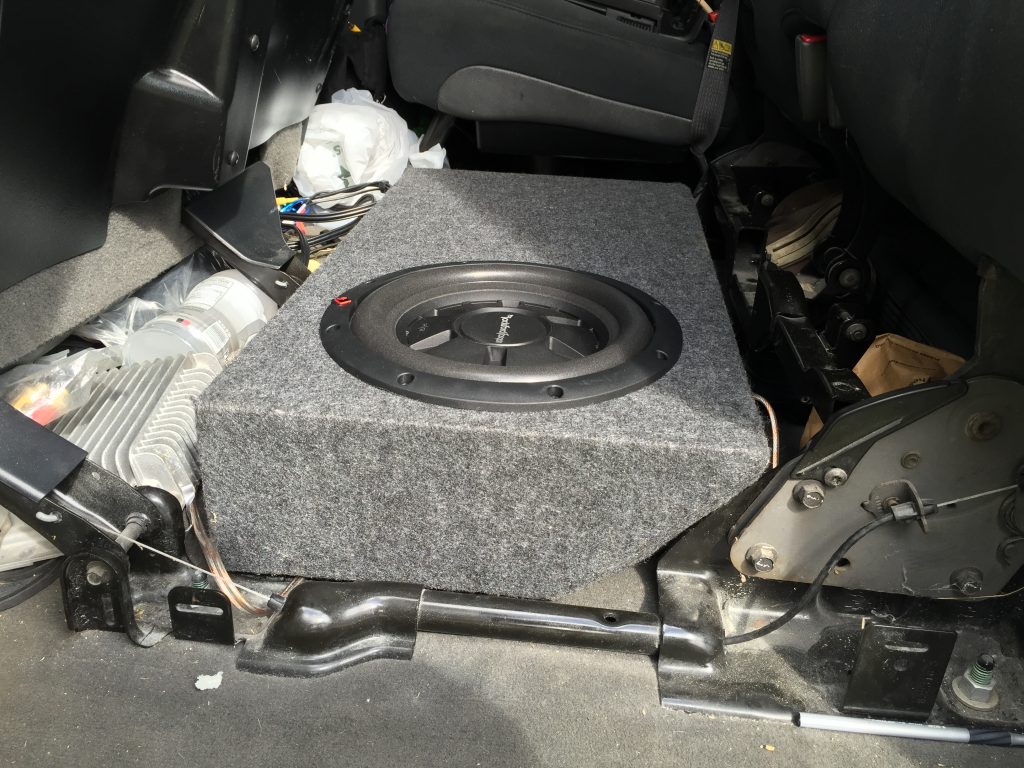
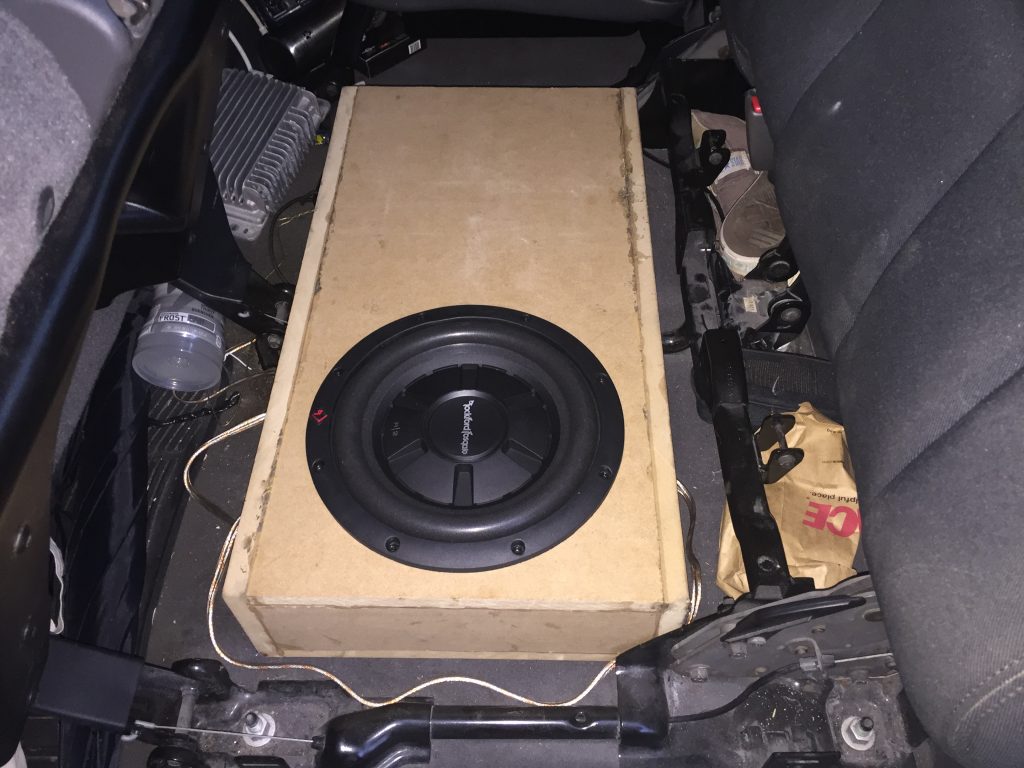
Fast forward to a couple years ago when I owned a 2004 Chevy Avalanche that had a custom paint job and 24″ black wheels. The truck looked great and I thoroughly enjoyed driving it however the stereo sucked! Honestly, if you are driving around in a custom Avalanche with 24″ wheels and you don’t have a good sound system, you are missing the boat. I quickly changed that by replacing all the stock door speakers with Rockford Fosgate 6.5″s and adding an Android based touch screen head unit. It immediately sounded better but it wasn’t enough…I need a subwoofer to fill in the bass. For anyone that has owned or driven an Avalanche you will know that space is limited so you have 2 options to place a subwoofer….either under or behind the rear seat. The Avalanche has an awesome feature called a “mid gate” that allows you to fold down the rear seat, remove the back window and fold down another panel which exposes the truck bed. The purpose is to extend the truck bed for longer items and from experience, it was one of my favorite features on the truck!
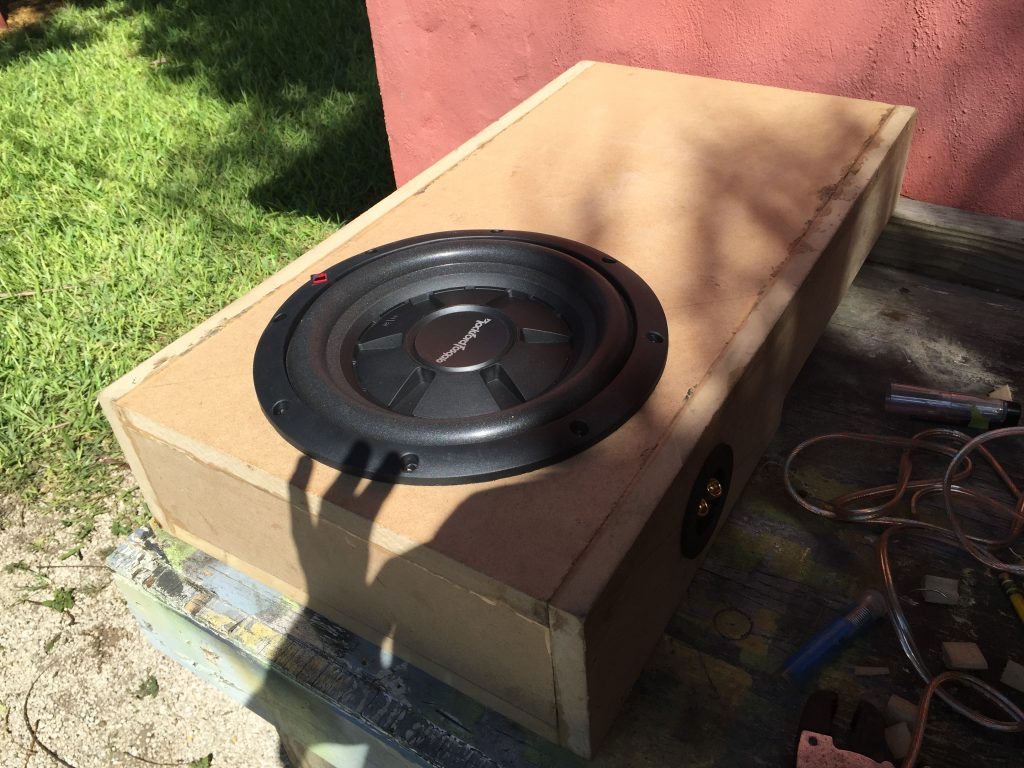
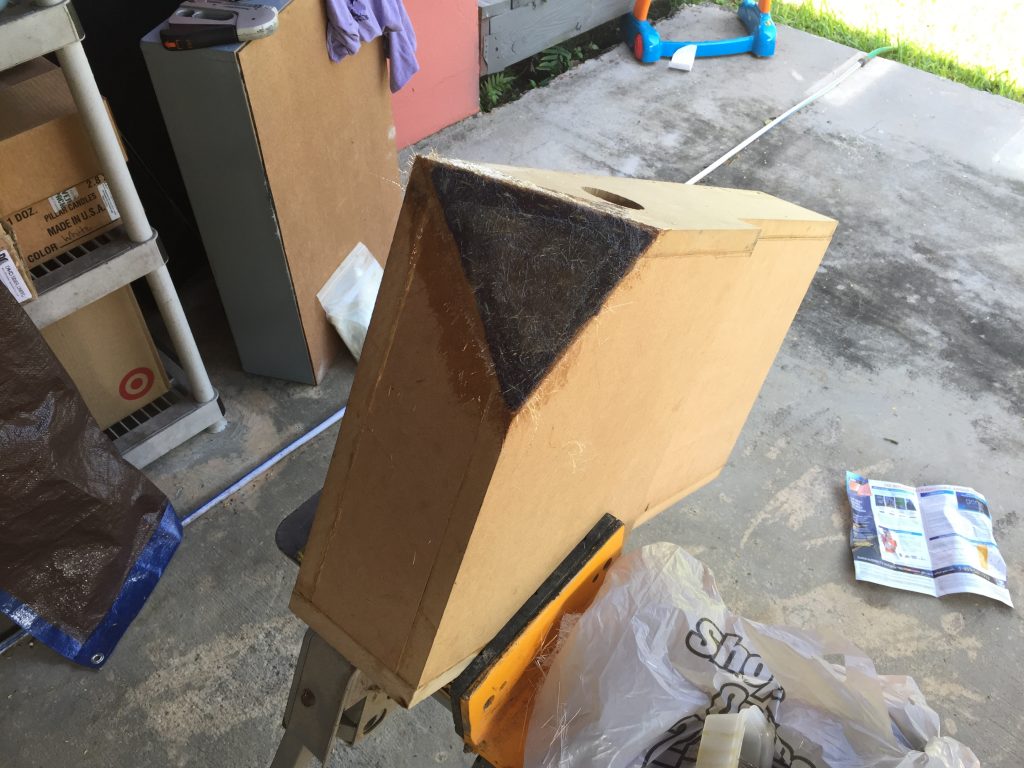
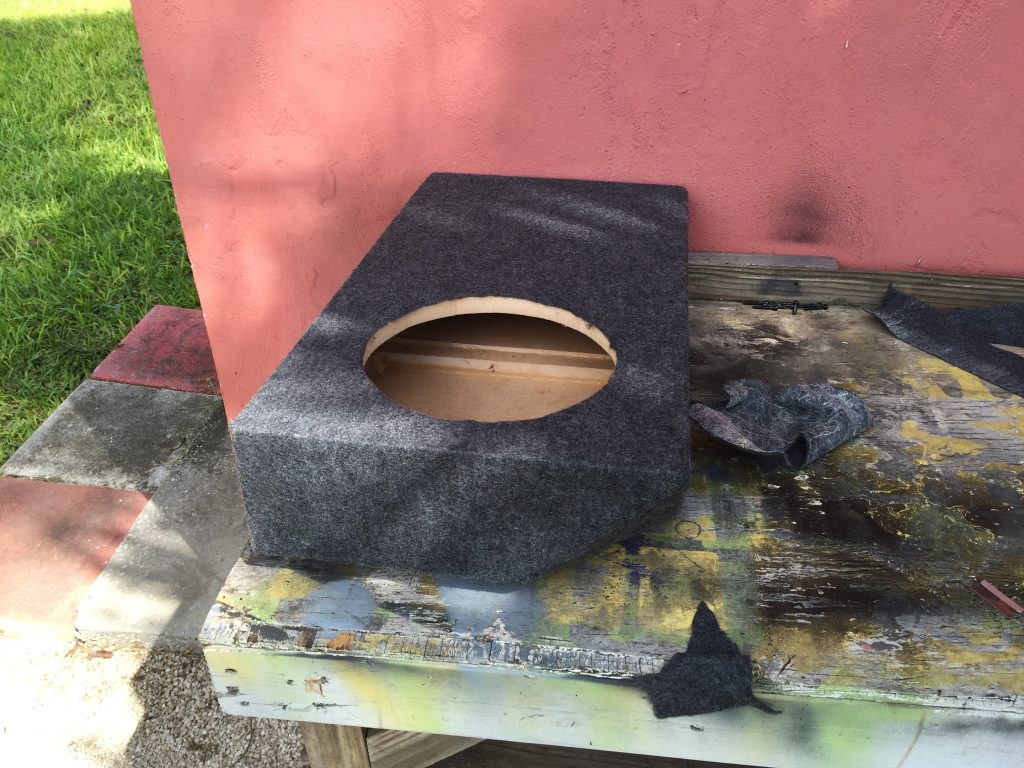
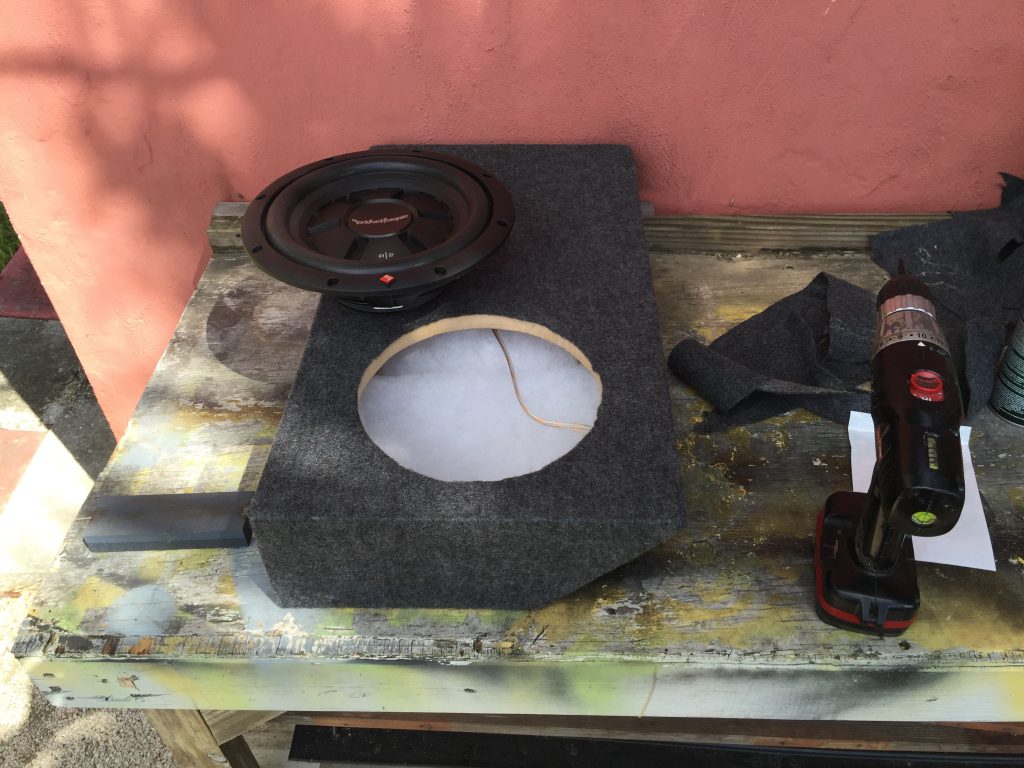
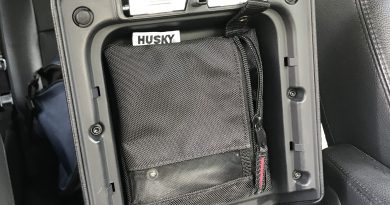
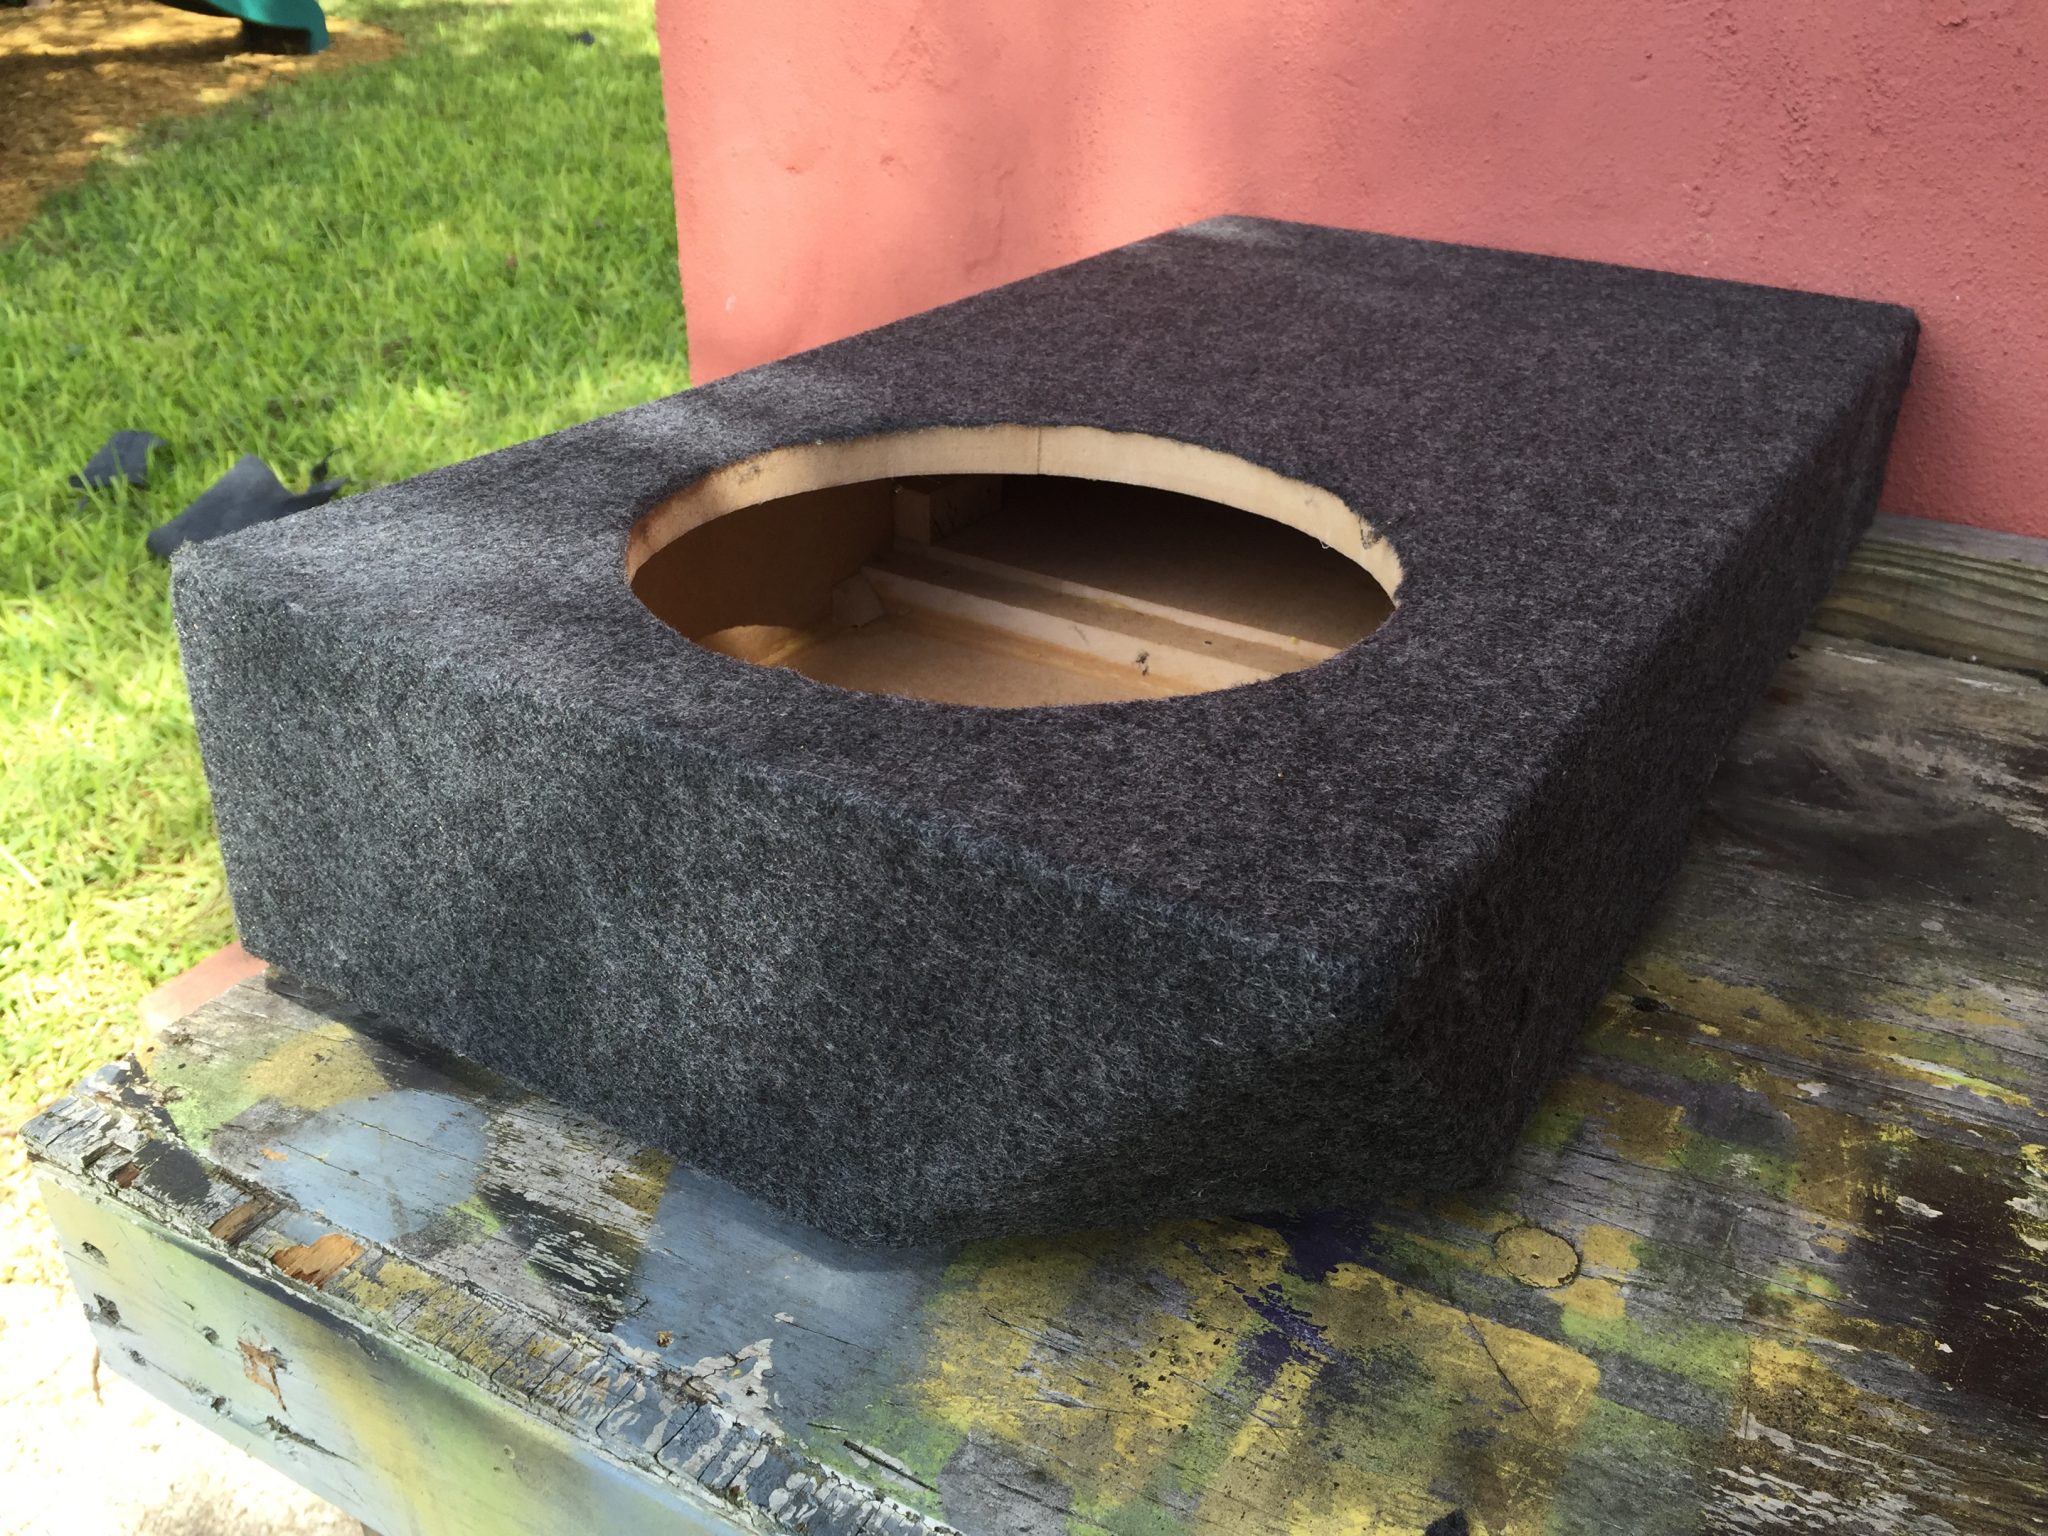
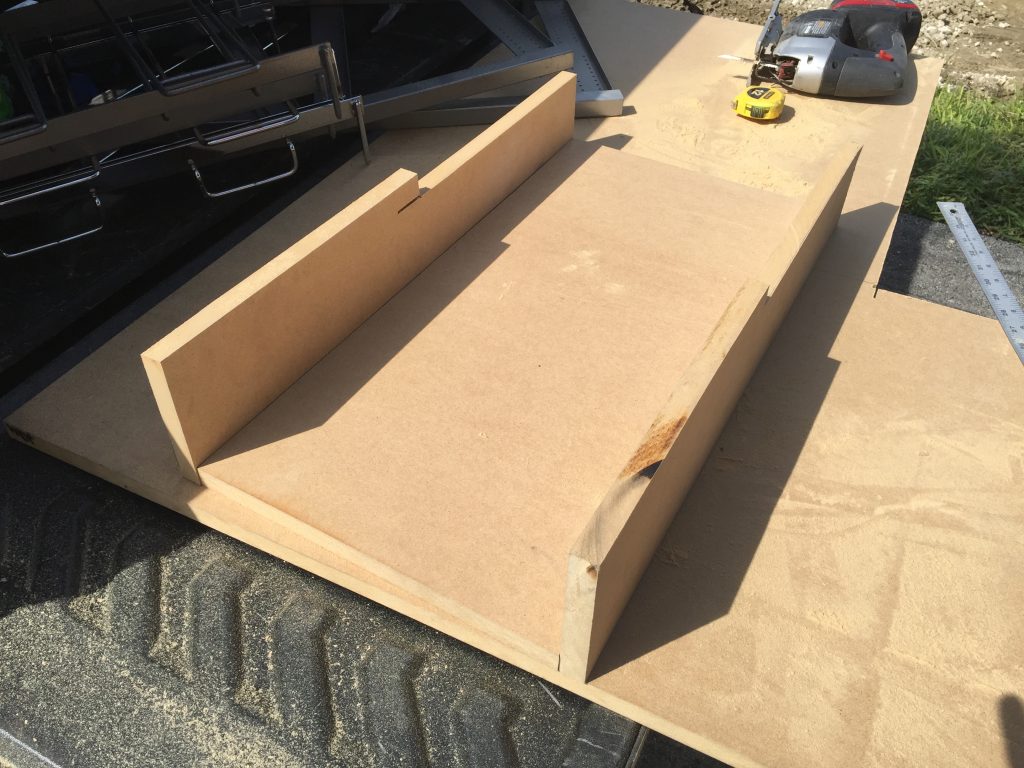
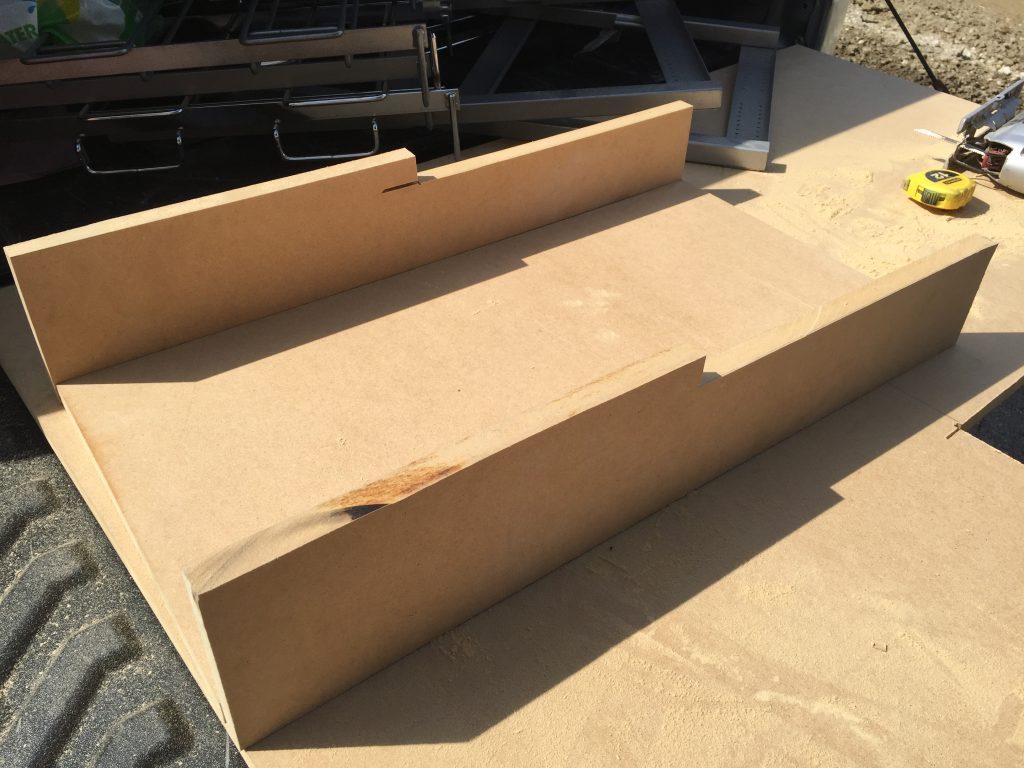
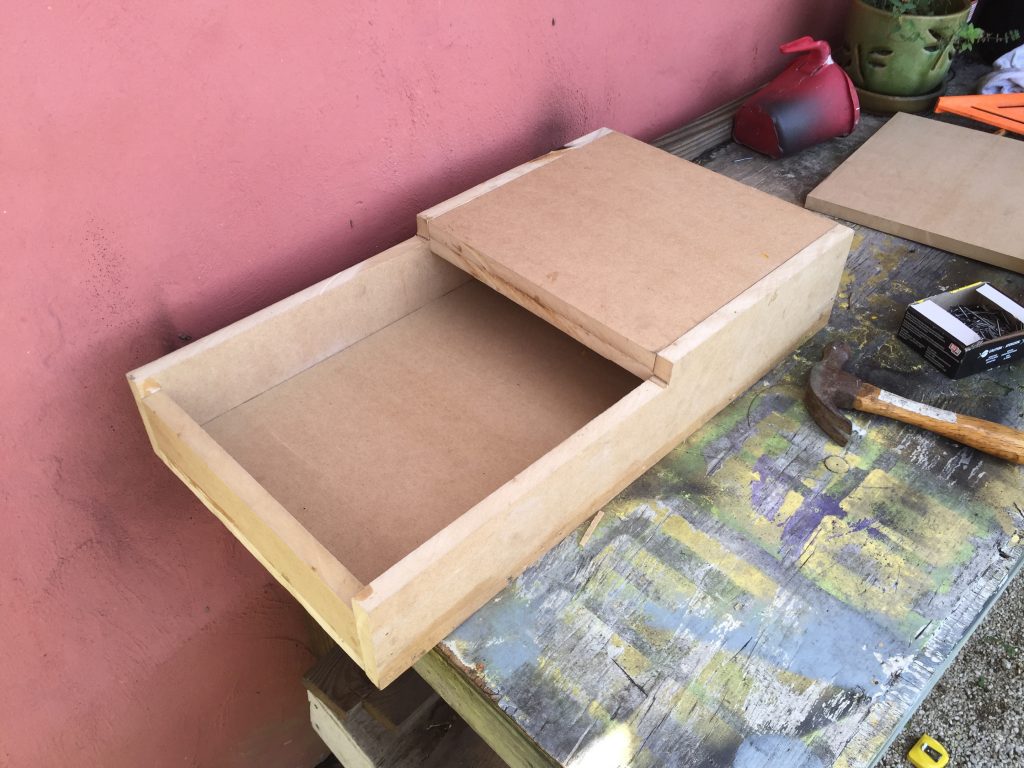
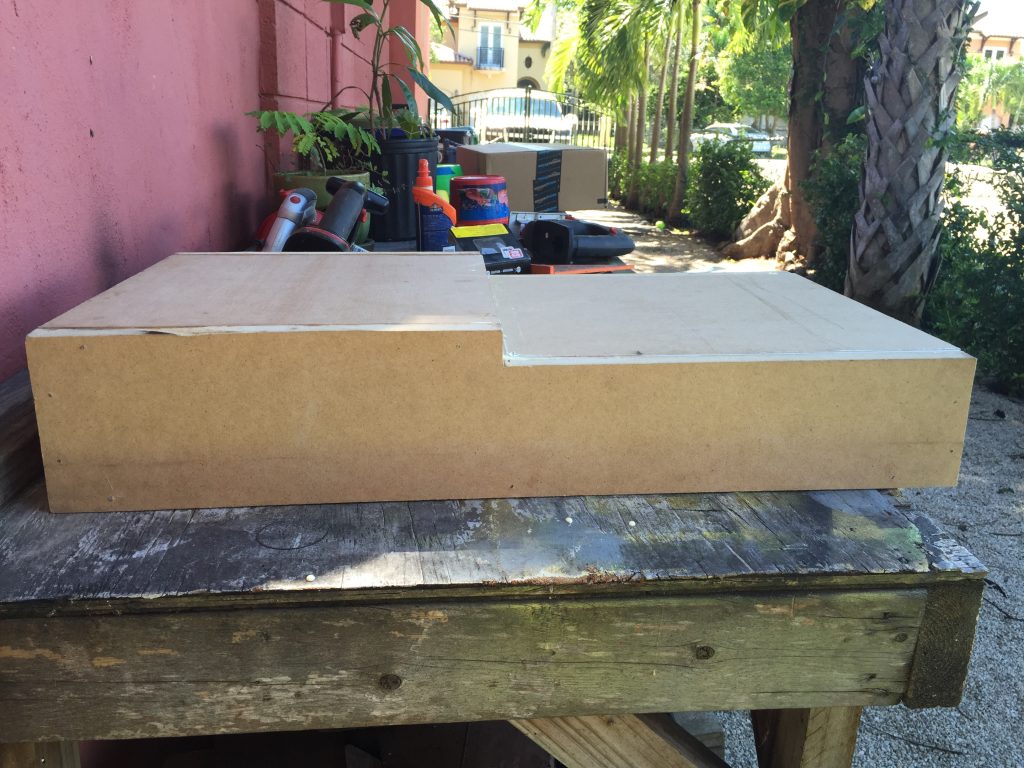
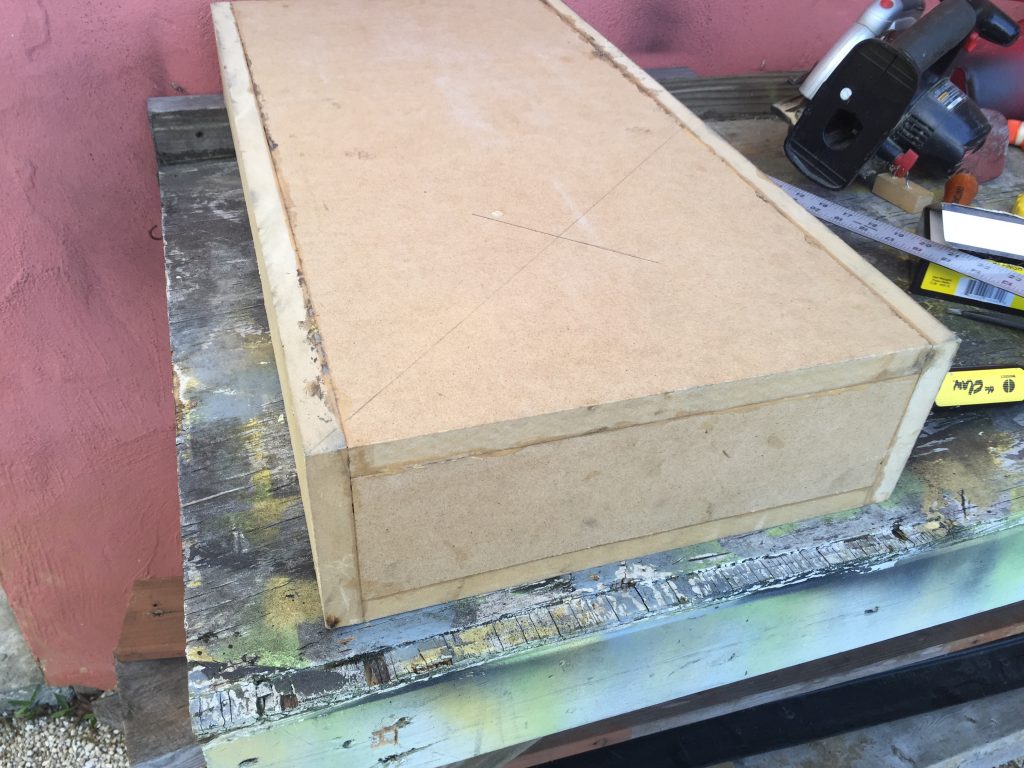
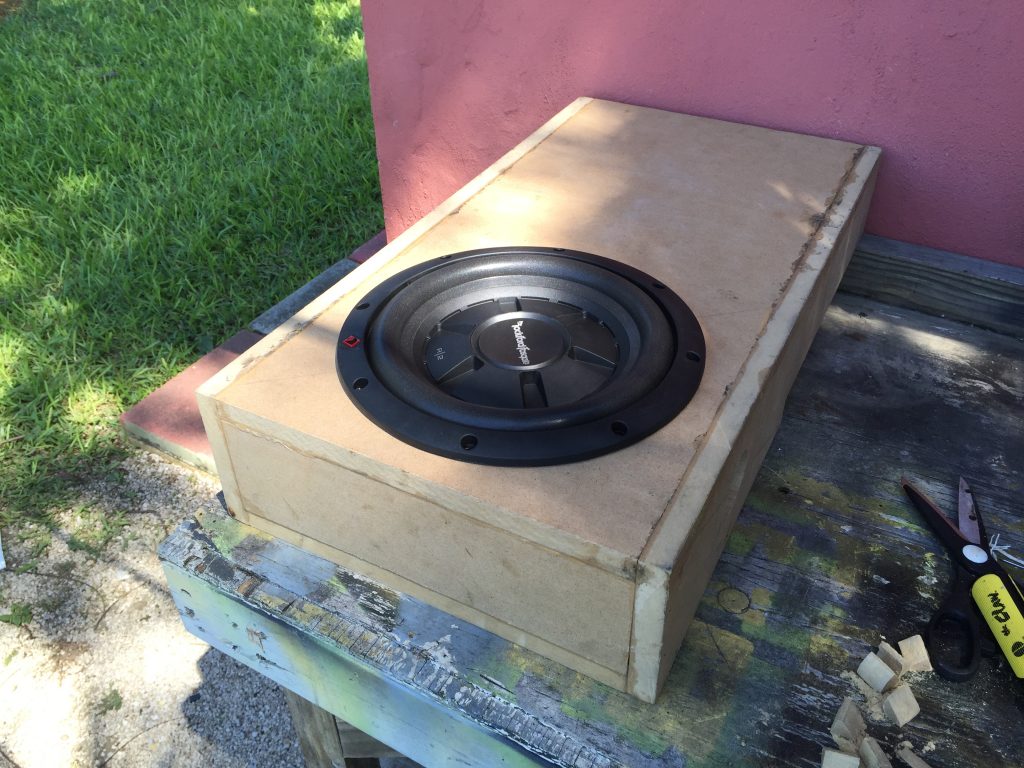
Realizing that I did not want to block the mid gate from opening, I decided that the subwoofer had to be fitted under the back seat. This meant I need to do 2 things: buy a shallow mount subwoofer and build a small enough speaker box to fit under the seat. Now it was time to decide on the speaker, figure out the parts needed and start building the box. It was a fun project that only took a couple hours to complete. If you are thinking about building a speaker box, here is the parts used to make this build:
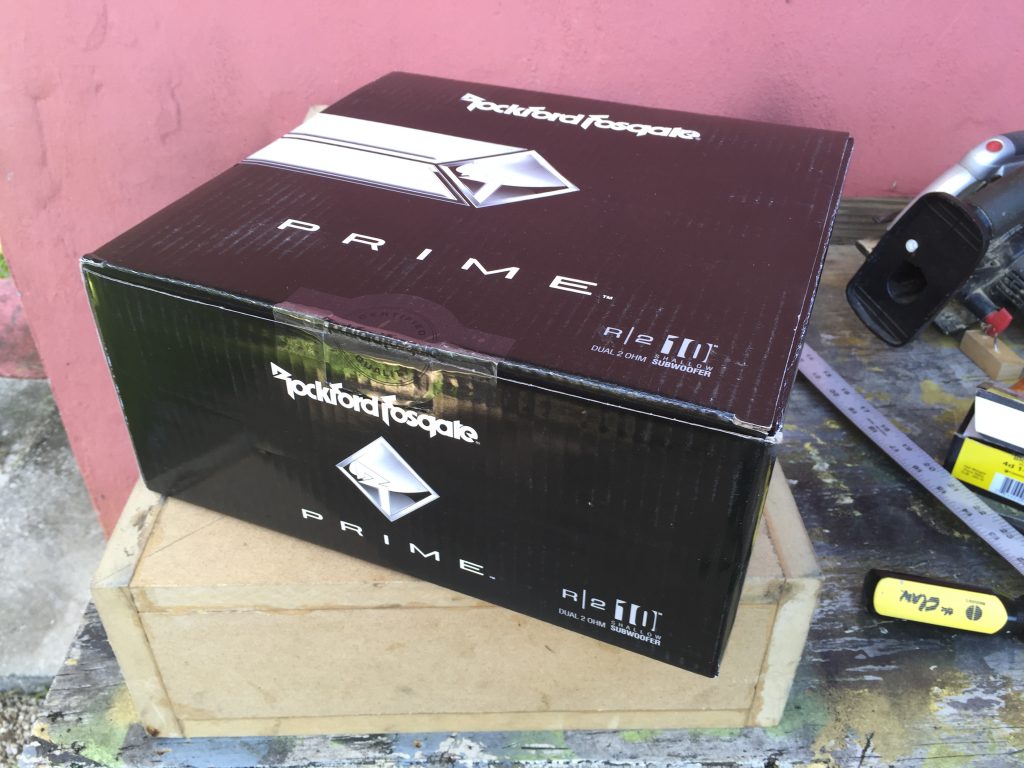
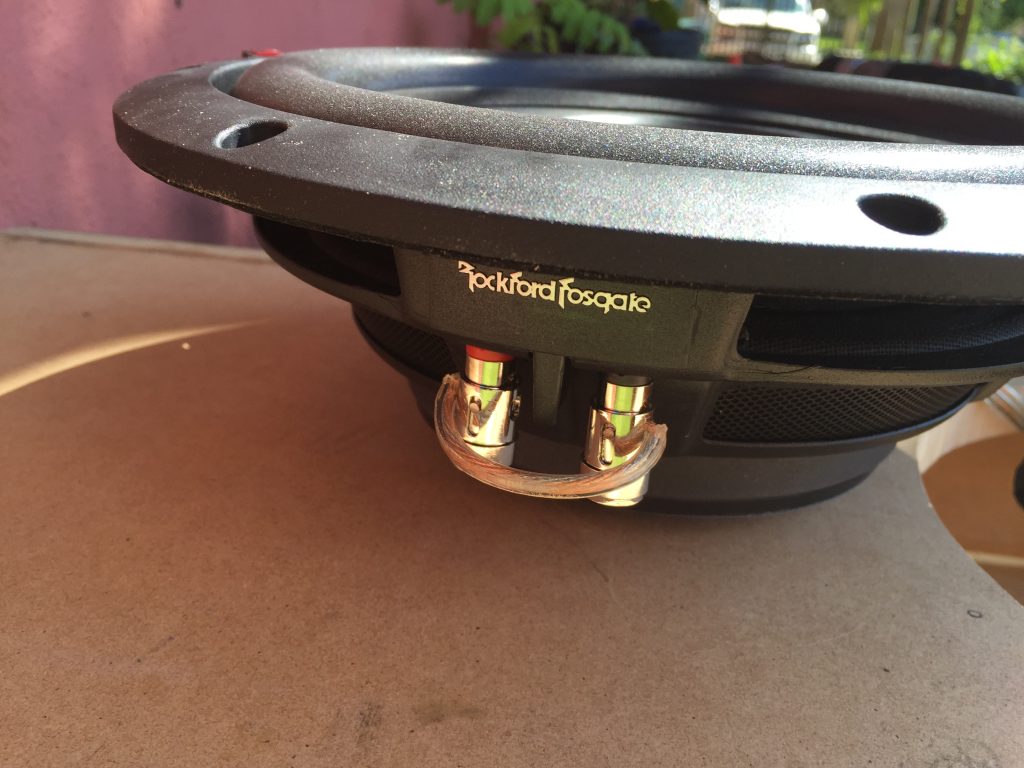
- the speaker (in my case a Rockford Fosgate Prime R2 10″)
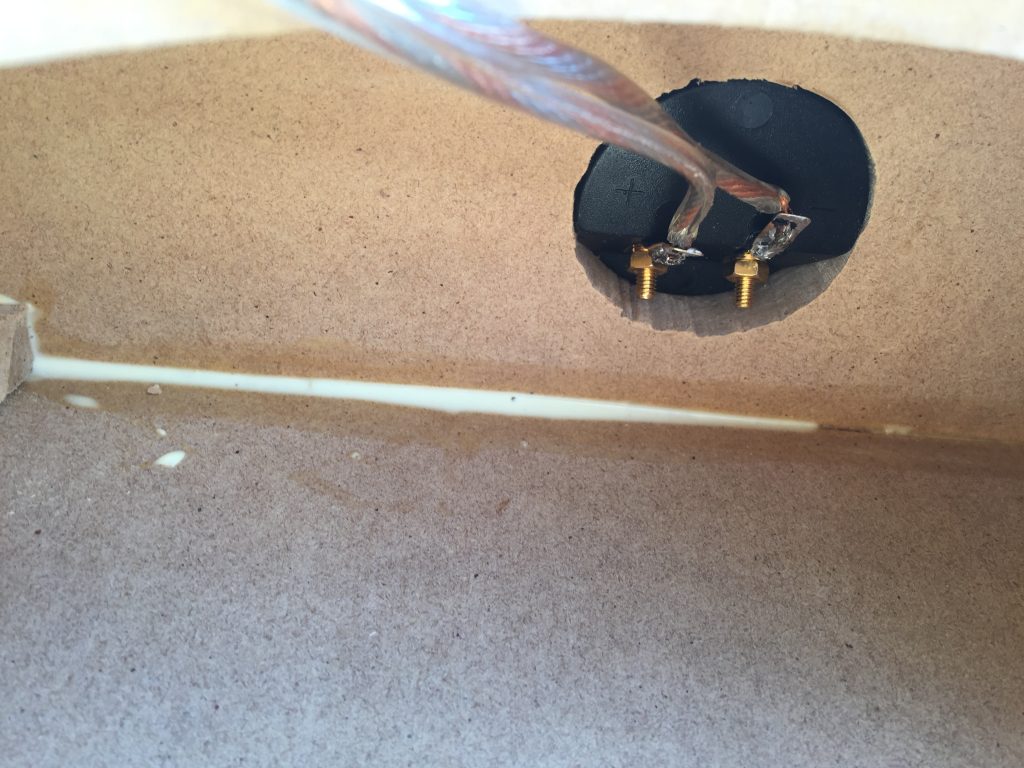
- speaker wire terminal (to connect the speaker to the amplifier)
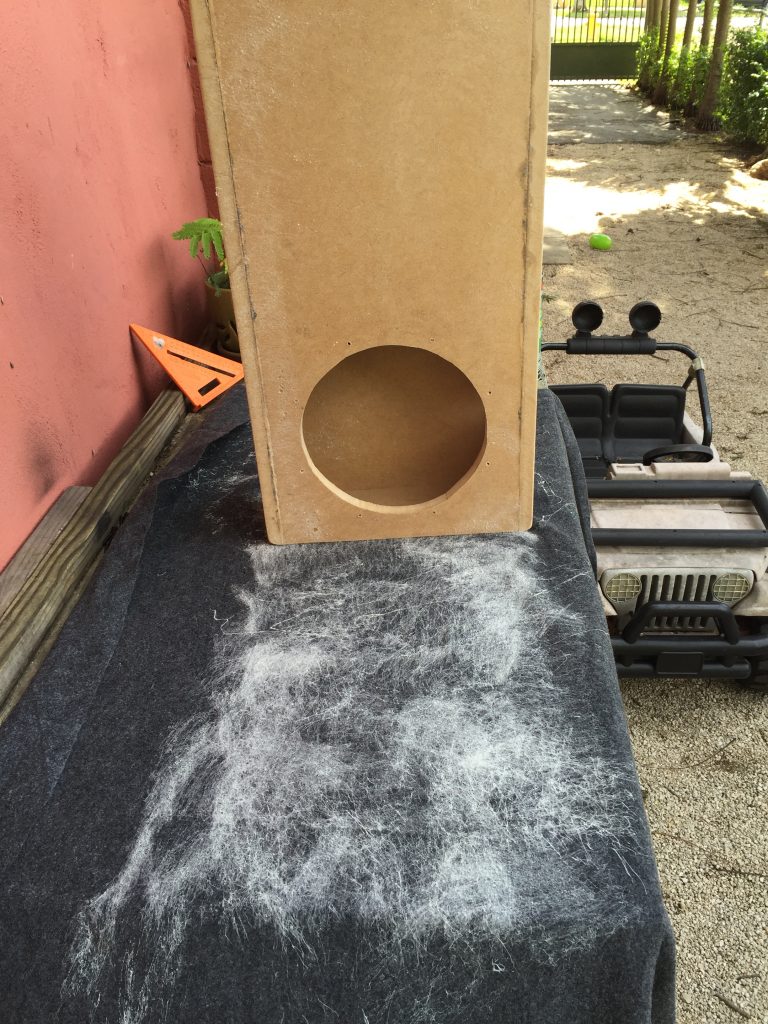
- 3/4″ medium density particle board (wood)
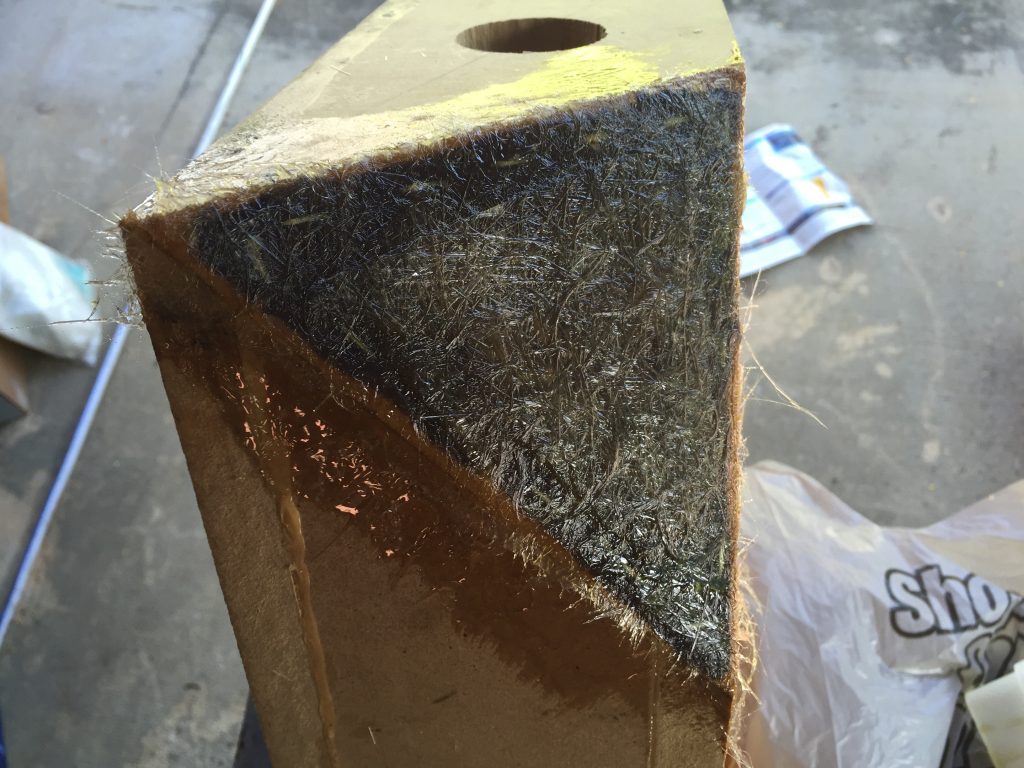
- insulating material for the inside of the box
- wood glue
- screws
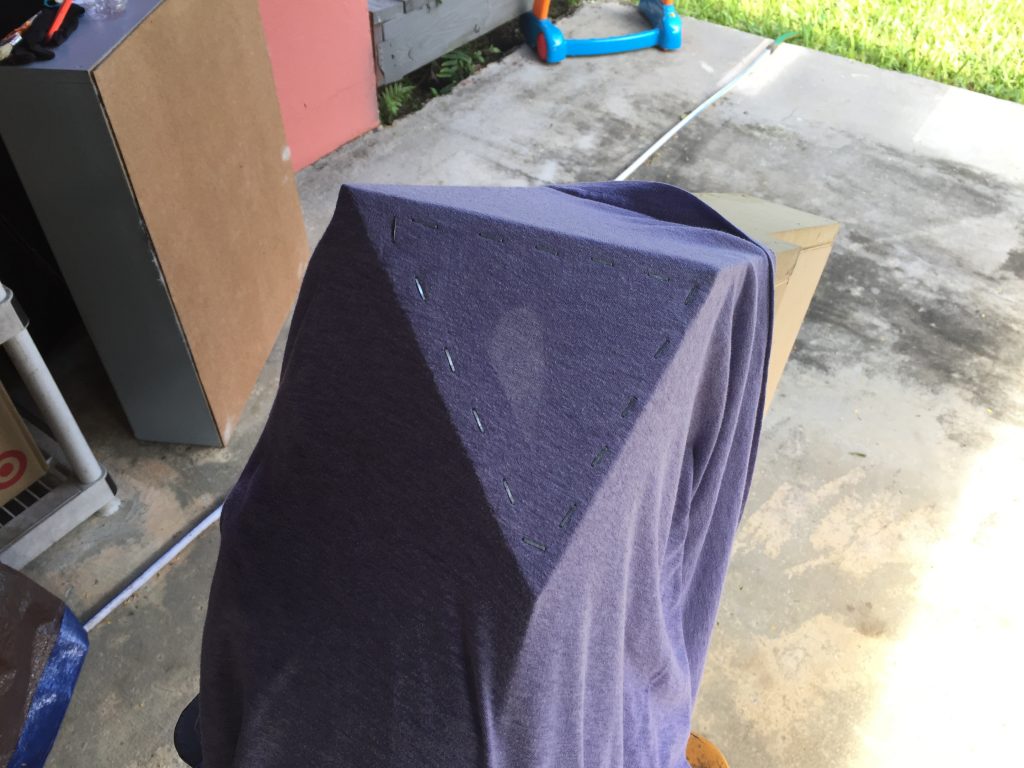
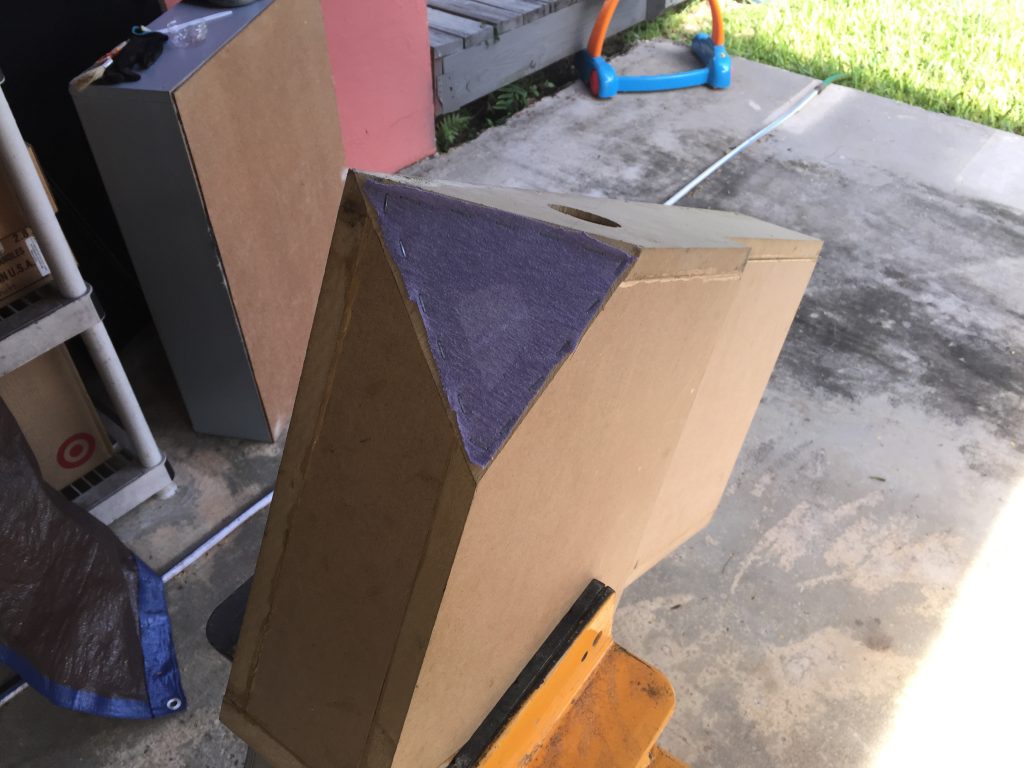
- “carpet” fabric (not sure the technical name)
- 3m 90 (or 70) spray adhesive
Remember, build it, don’t buy it!
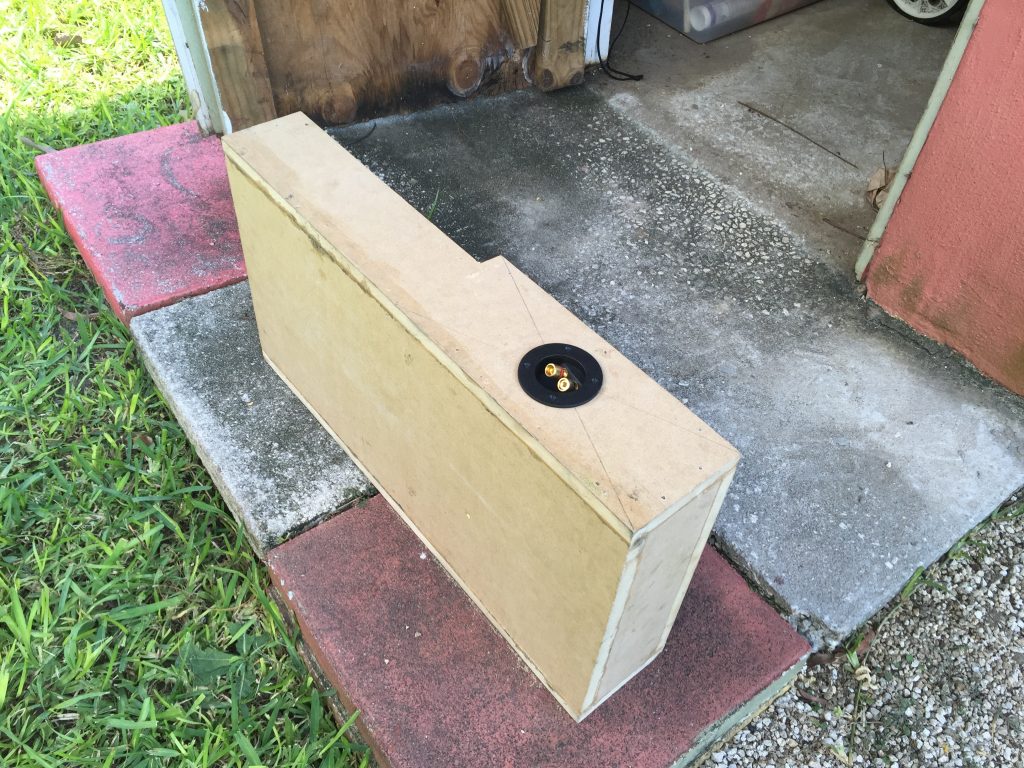
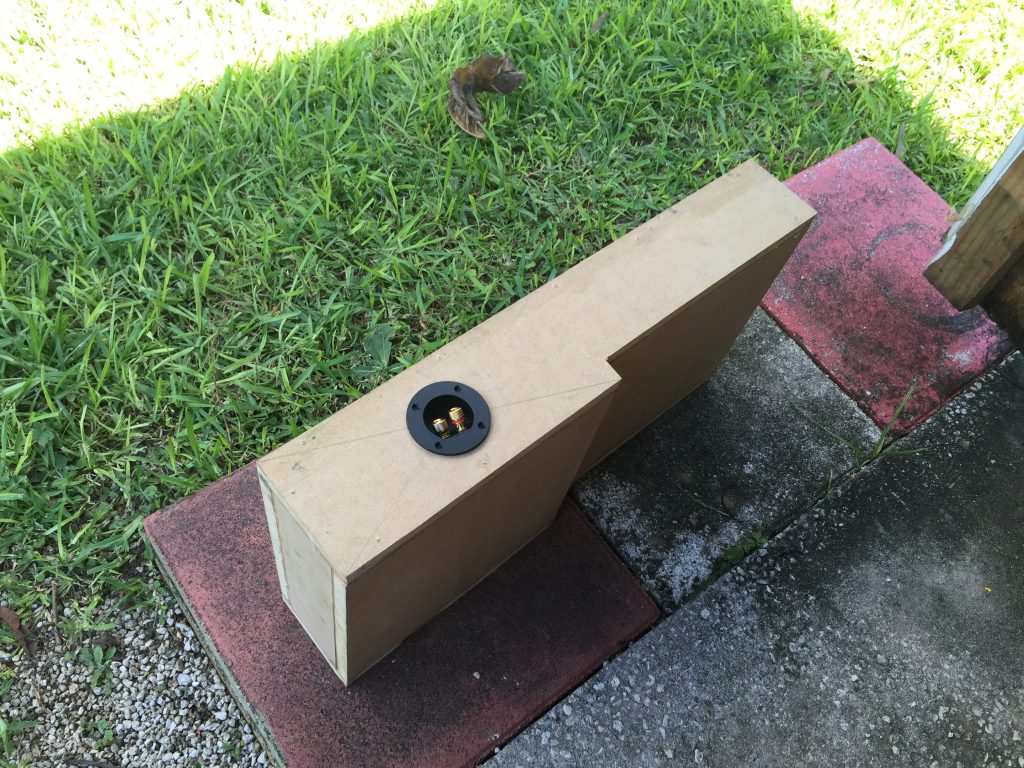
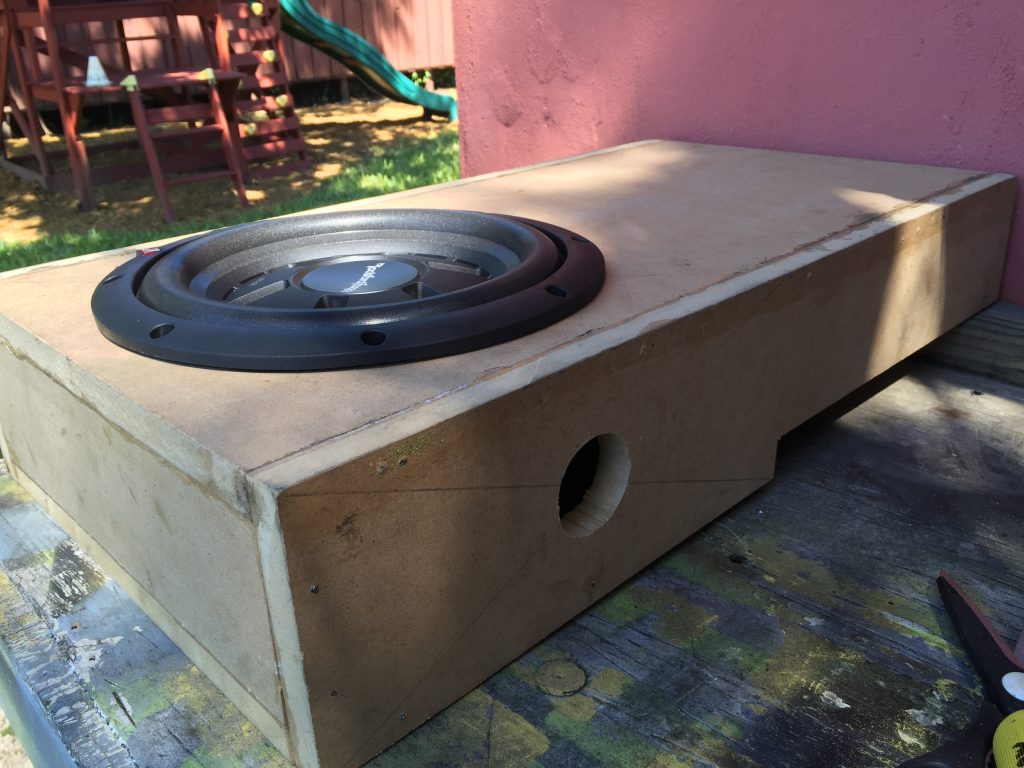
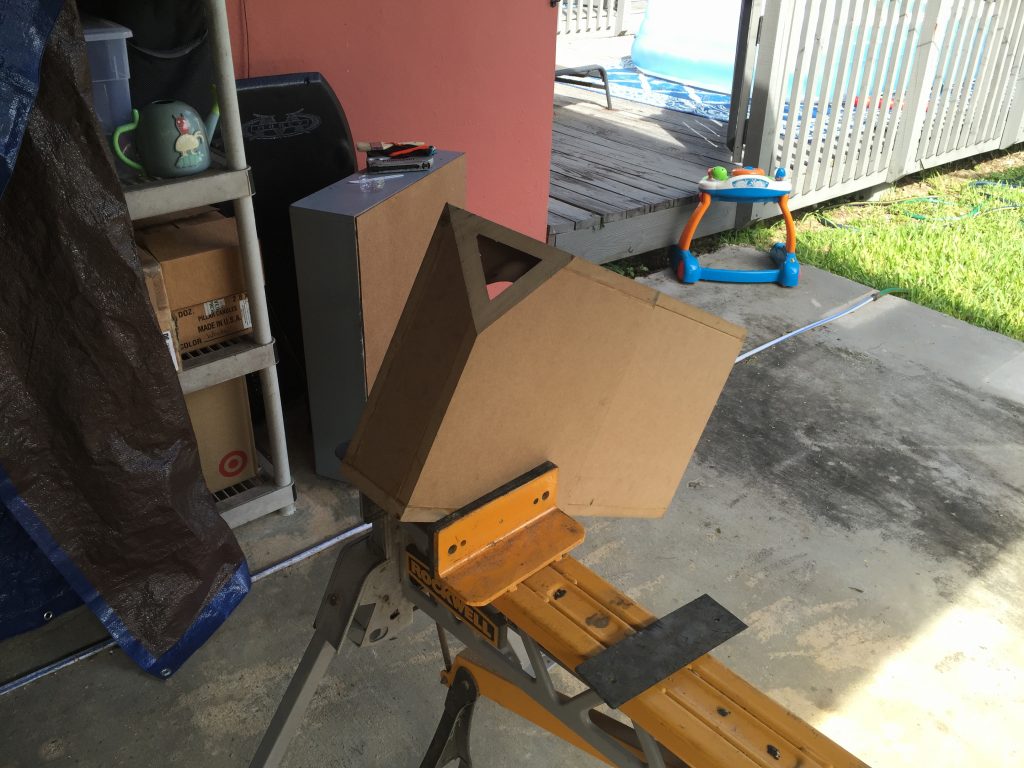
The seat wouldn’t close properly so I had to make an adjustment to the box design